4 Solutions to Resolve Can’t Send Emails Issue in Mail App on Mac
Essential Troubleshooting Steps
- Verify your Wi-Fi connection: Make sure you are connected to a 5GHz Wi-Fi network to enhance your email sending speed.
- Force close and reopen the app: Go to the Apple logo > Force Quit > Mail app > Force Quit.
- Update the Mail application: Navigate to Settings > General > Software Update.
Solution 1: Inspect Server Connection
The Mail application includes a feature to monitor your server connection status. Your email client must be interfacing with the email server correctly.
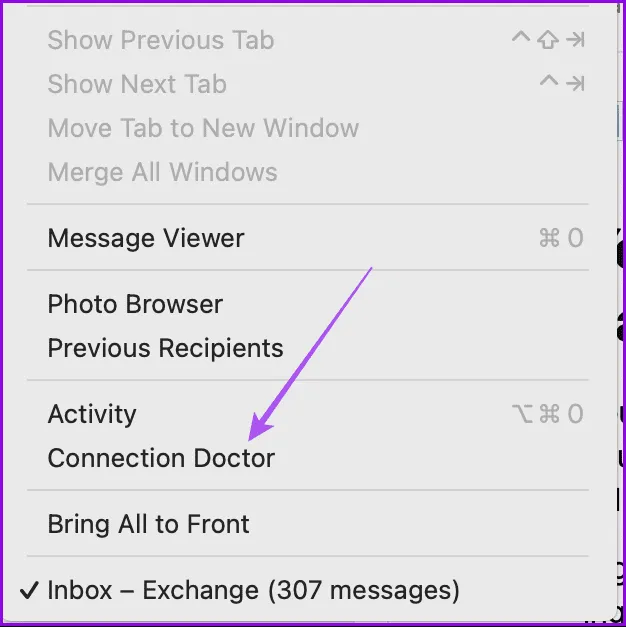
Step 1: Launch the Mail app > Window > Connection Doctor.
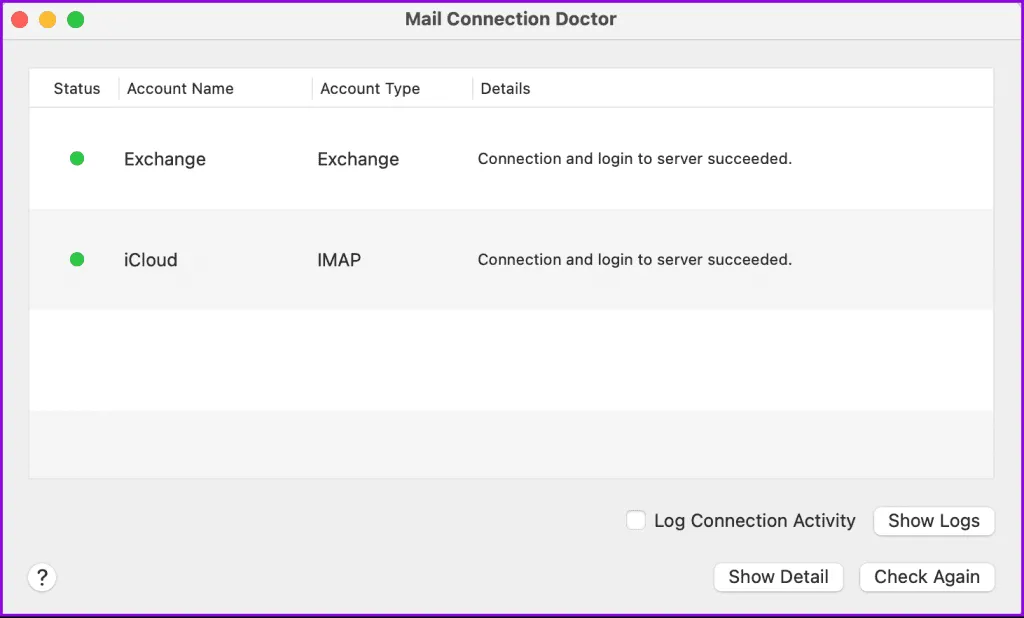
Step 2: Verify if your email account is successfully connected to the server. You can click on Check Again for confirmation.
Solution 2: Verify SMTP Server Configuration
Encountering the “Cannot Send Message Using the Server” error within Apple Mail on your Mac indicates a need to check your SMTP (Simple Mail Transfer Protocol) server settings. This protocol facilitates email exchanges between servers.
Step 1: Open the Mail app > Settings > Accounts > Choose your email account.

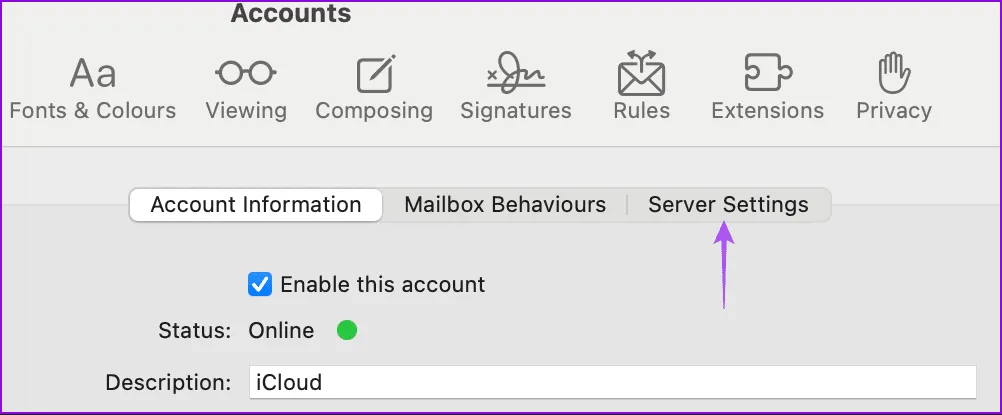
Step 2: Click on Server Settings.
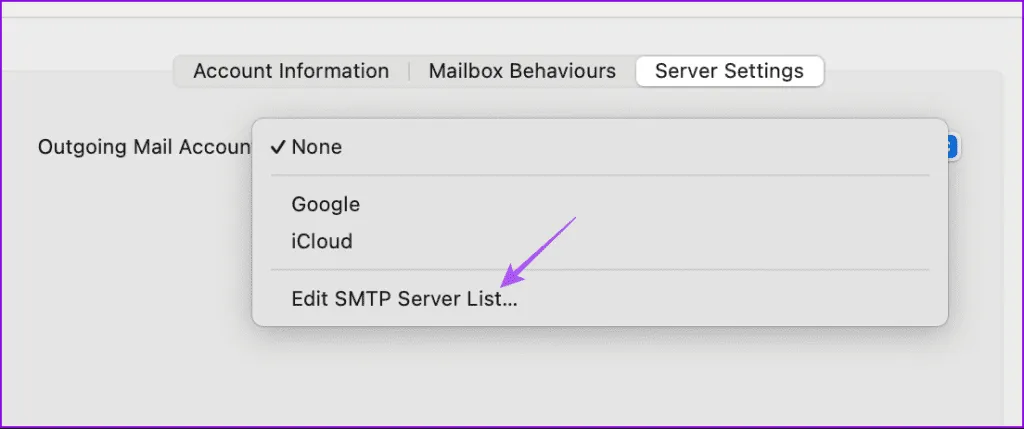
Step 3: From the drop-down menu, select Edit SMTP Server List.
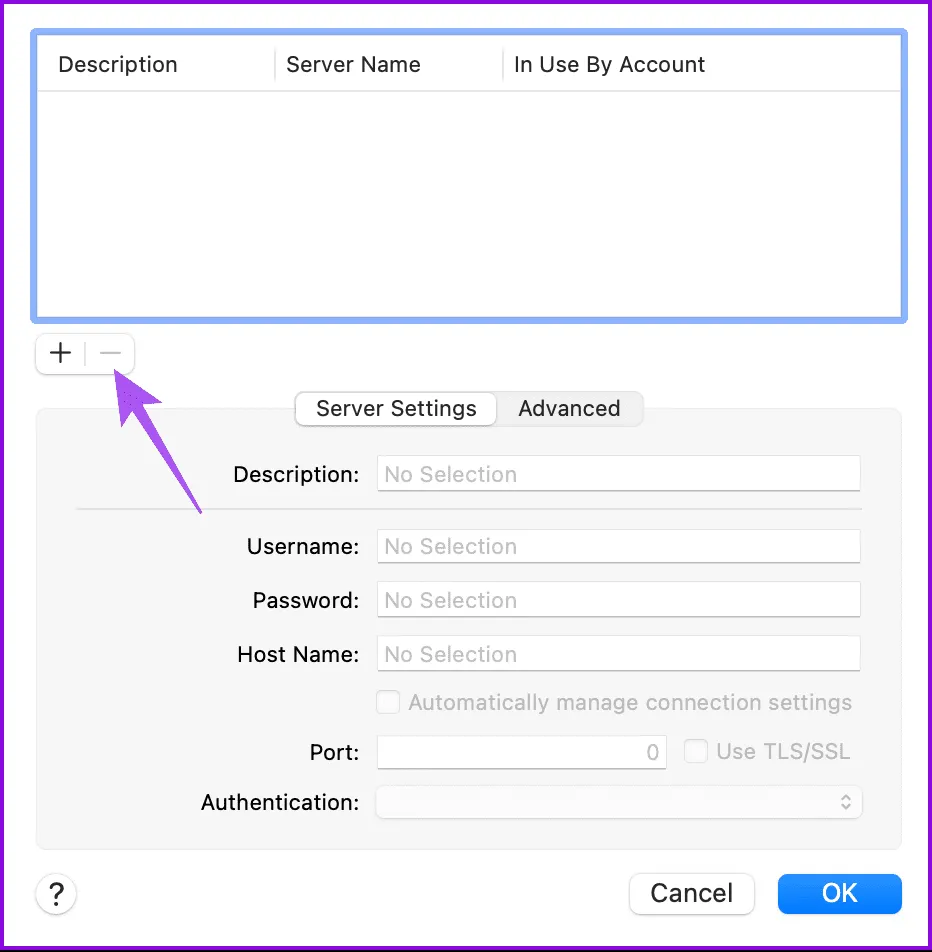
Step 4: Choose your designated SMTP server and confirm that the displayed information is correct.
If you find duplicate servers, simply select them and hit the Minus icon to remove them.
Step 5: Click on Advanced and ensure all fields align with the specifics provided by your email service provider.
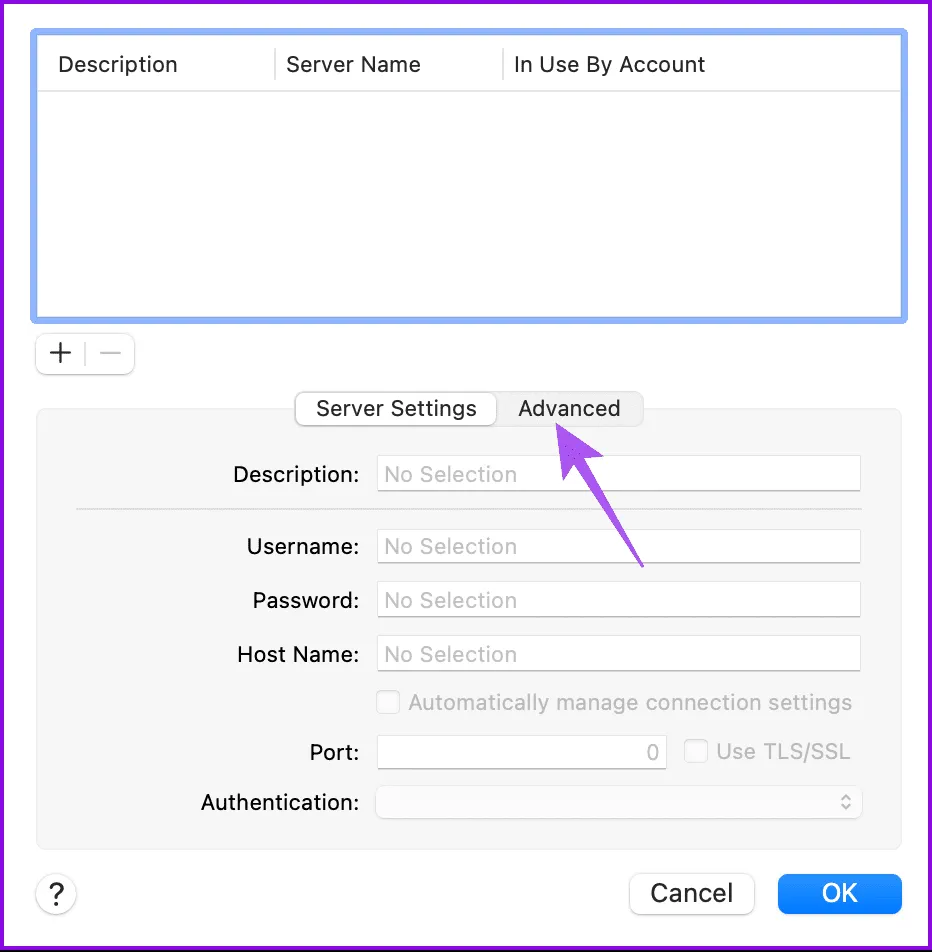
Step 6: After verifying the details, click Ok and attempt to send an email to yourself.
Solution 3: Turn Off Firewall
Firewalls on your Mac block unwanted interruptions from other systems while browsing the internet. It is essential to check that Apple Mail isn’t restricted in your firewall settings.
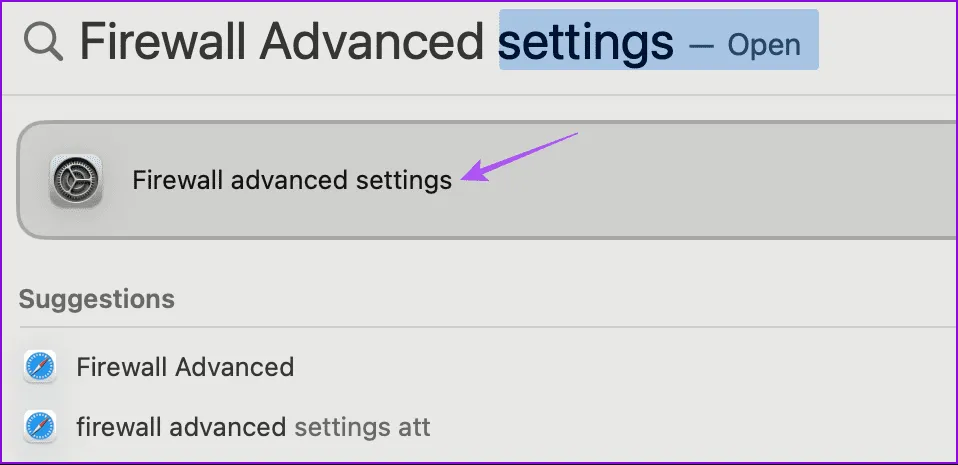
Step 1: Open Spotlight Search using Command + Spacebar, input Firewall Advanced Settings, and press Return.
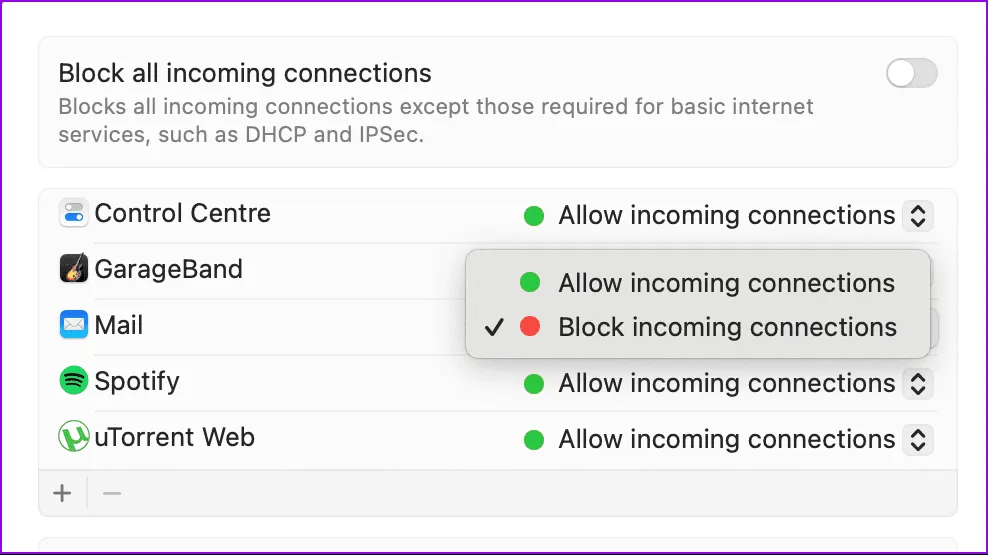
Step 2: Choose Firewall > Options > Ensure that, if the Mail app is listed, its incoming connections are permitted.
Solution 4: Boot in Safe Mode
If previous solutions haven’t resolved the issue, try starting your Mac in Safe Mode to troubleshoot the Mail app. This will minimize interference from third-party applications and ensure that built-in applications like Mail operate correctly.
Instructions for Macs Equipped with M-Series Chips
Step 1: Power down your Mac.
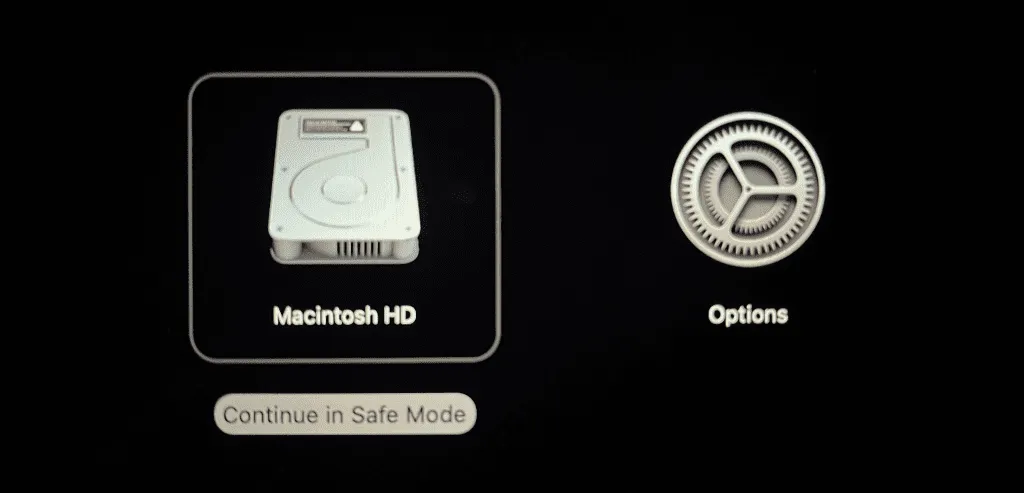
Step 2: Once the Mac has shut down, press and hold the Power Button until two startup options—Macintosh HD and Options—appear.
Step 3: While holding the Shift key, select Macintosh HD and then click Continue in Safe Mode.
Instructions for Macs Equipped with Intel Chips
Step 1: Restart your Mac.
Step 2: Hold down the Shift key during the restart process. Release the key once the login screen appears.
Image credits: Guidingtech.com