7 Effective Solutions to Resolve iPad Restoration Error 4013
Although many users find iCloud to be a convenient option for backing up and restoring data, a lot of iPhone and iPad owners lean towards using their PCs or Macs for this process. However, issues can arise, such as random error codes like 9, 4013, 4010, among others, particularly when restoring an iPad using a desktop. If you’re currently grappling with the iPad restore error 4013, consider the following solutions to resolve the issue.

Should your iPad exhibit unusual behavior, restoring it via iTunes or a Mac may rectify these problems. Unfortunately, you might encounter errors like the 4013 code that can impede your attempts. Before diving into troubleshooting methods, let’s clarify what this error signifies.
What Does iPad Error 4013 Mean?
The 4013 error frequently appears during an attempt to restore an iPad from a computer. This often signifies potential hardware issues. However, it might also be linked to a defective cable, problematic software, or even a faulty USB port.
In essence, this error highlights a disrupted connection between your iPad and the computer. As the vague nature of error 4013 doesn’t provide much context, your best option is to experiment with several fixes to resolve it.
1. Restart Your iPad
Restarting both your iPad and your computer can clear up common system glitches. Start by rebooting your Windows or Mac, and then follow these steps to restart your iPad:
Step 1: Press and hold any of the volume buttons alongside the top button until the power off slider shows up.
Step 2: Slide to power off and wait for a minute or so. After that, press and hold the top button until the Apple logo is visible again.

If your iPad features a home button, simultaneously press and hold both the top and home buttons until you see the Apple logo. Release the buttons to force a restart.
After restarting, connect your iPad back to the PC or Mac and attempt the restore process again. If you still face errors like 4013 on your device, keep reading for more potential solutions.
2. Try a Different USB Port
A malfunctioning USB port on your computer could be the source of the problem. Test out a different USB port to establish a connection with your iPad. Ensure the connection is secure and avoid detaching the device while the restore operation is ongoing.
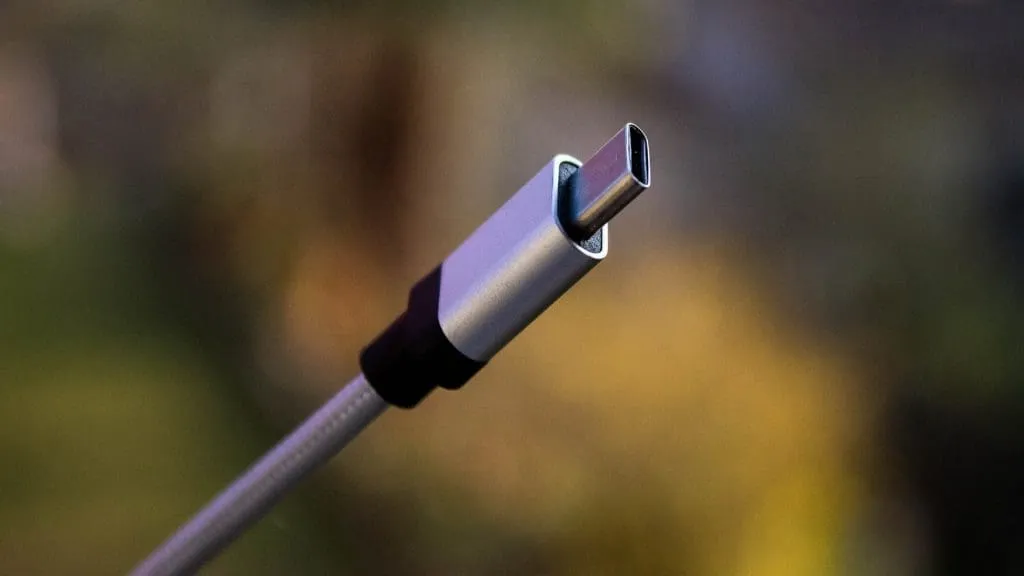
3. Change the Cable and Clean the Port
Any dust or debris clogging your computer’s USB port might disrupt communication with your iPad. Carefully clean the USB port and give it another go.
Before reconnecting your iPad, examine the cable closely for any signs of wear and tear. If necessary, switch to a different cable.
4. Disable Antivirus Programs
If you’re using third-party antivirus software on Windows, these programs may sometimes interfere with connected devices. Try disabling your antivirus temporarily and see if that resolves the issue.
5. Update iTunes
iTunes is available on Windows through the Microsoft Store, and Apple regularly updates this application to enhance features and wipe out known bugs. Make sure iTunes is updated to its latest version before attempting to restore your iPad again.
6. Update macOS
Restoration of your iPad can also be performed using Finder on a Mac. Some users, however, have encountered problems while using it. Since Finder is associated with macOS, ensure your MacBook is updated to eliminate potential bugs. Here’s how:
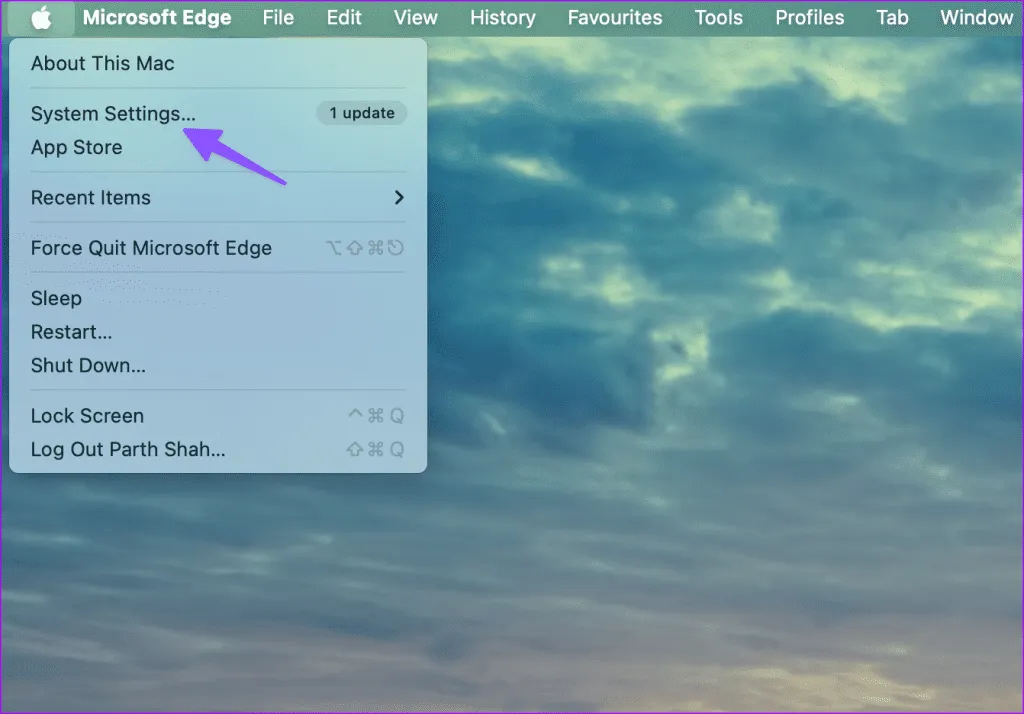
Step 1: Click the Apple icon in the menu bar and navigate to System Settings.
Step 2: Scroll to the General section and select Software Update.
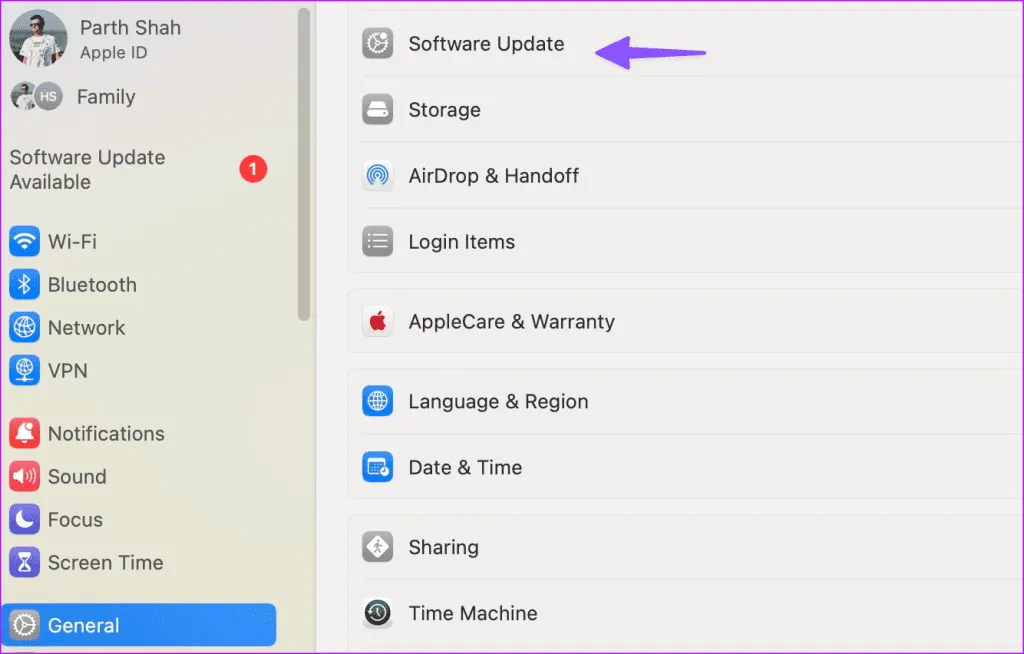
Download and apply the latest macOS update, then attempt to restore your iPad using Finder to check if the issue persists.
7. Activate Recovery Mode on Your iPad
If you continue to face errors like 9, 4013, and 4000 during restoration or updates, it’s time to enter recovery mode on your iPad. Be sure to have the latest versions of macOS and iTunes (for Windows) before proceeding with the following steps:
Step 1: Connect your iPad to your computer and open Finder or iTunes.
Step 2: Quickly press and release the volume up button, followed by the volume down button, and press and hold the top button until the recovery mode screen appears. For models with a home button, press and hold both the home and top buttons together.
Step 3: Wait for the recovery mode screen to show on your iPad.
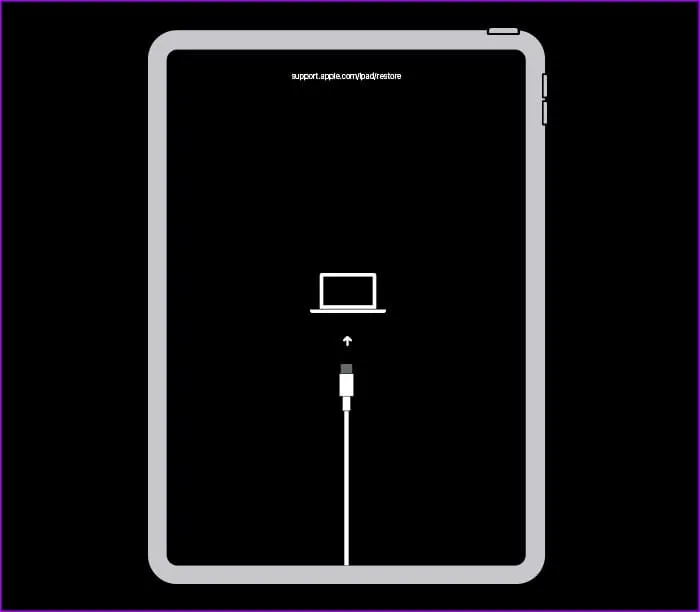
Step 4: Locate your iPad on the computer and select either Update or Restore.
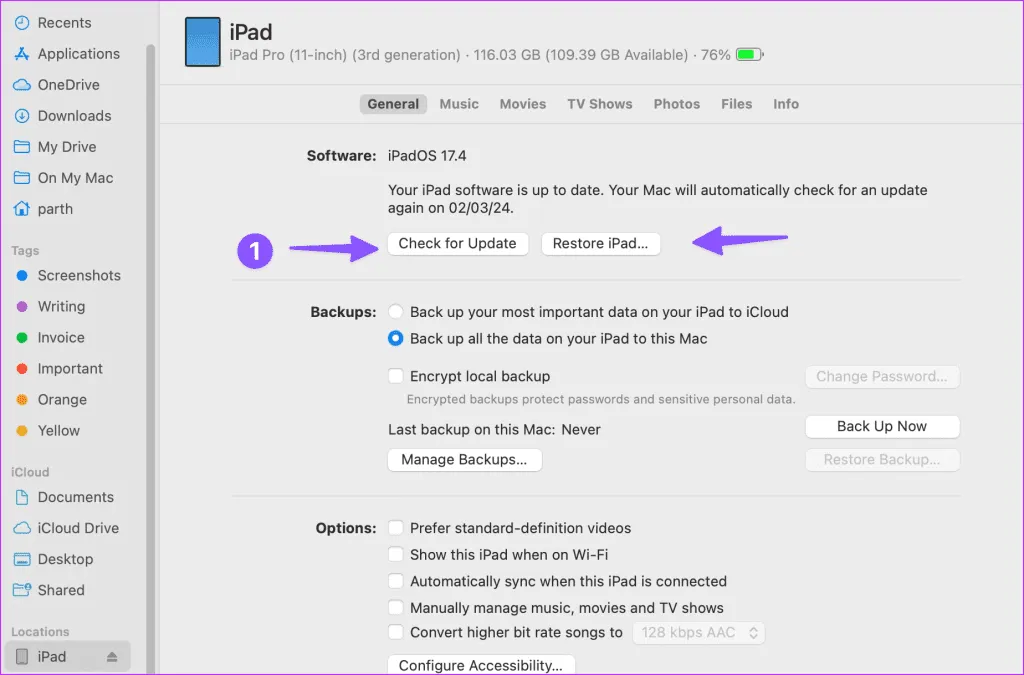
Choose the Update option to install the latest software on your iPad. If that fails, use the Restore option to erase all content and reset the device to factory settings.
Alternatively, there are third-party applications available that can assist in restoring your iPad successfully. However, as these tools are unofficial, there’s no guarantee they will function as intended. If you choose to purchase one, make sure it’s backed by a money-back policy.
Bring Your iPad Back to Life Quickly
Facing issues like ‘iPad could not be restored 4013′ can certainly be frustrating. Consider attempting a restore from a different computer as well. Before resorting to a service center visit, give the above methods a shot to successfully restore your iPad. We welcome you to share which solution worked for you in the comments below.
Images Credit: Guidingtech.com