How to Change Resolution for External Monitor on Mac: 3 Simple Methods
Method 1: Adjusting the Display Scaling for External Monitors
For those who prefer not to use third-party applications, you can easily adjust your display settings by following these straightforward steps.
Step 1: Click on the Apple icon located in the upper-left corner, then go to System Preferences > Displays.
Step 2: Examine the connected display listed at the top and review the resolution options available.
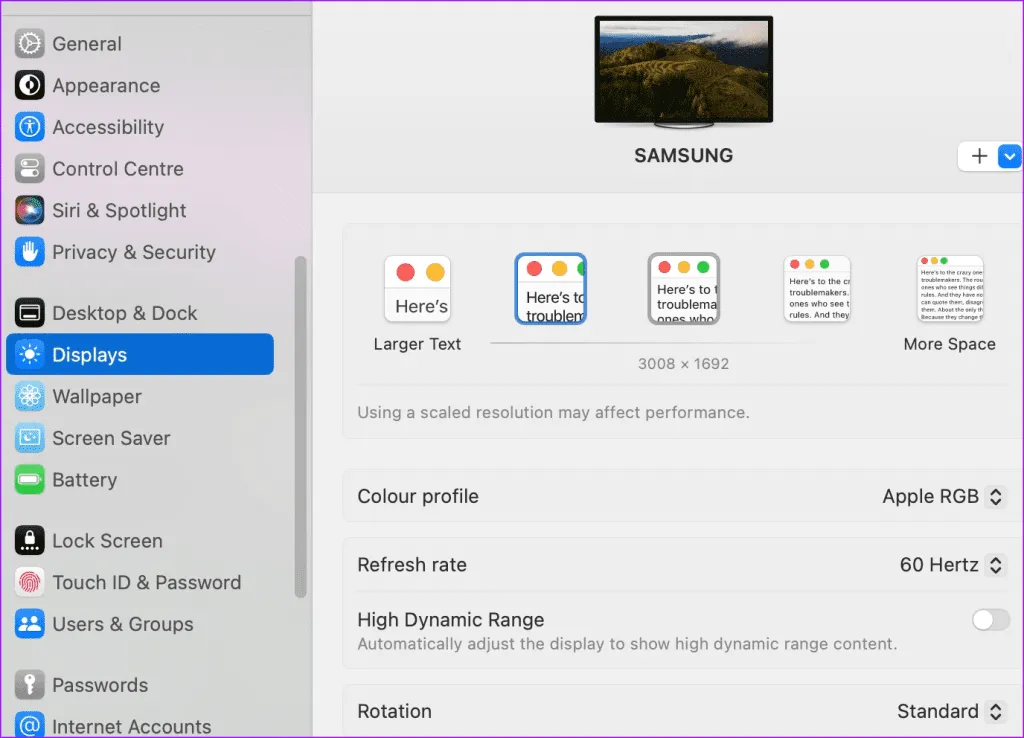
Here are the resolution selections for our 4K Samsung M7 monitor when it is connected to a 14-inch MacBook M1 Pro:
- 1920 x 1080
- 2560 x 1440
- 3008 x 1692
- 3360 x 1890
- 3840 x 2160
Keep in mind that as the resolution increases, the system text size reduces. Even with options like QHD or Full-HD, macOS intelligently scales it to accommodate your monitor’s resolution. For instance, when we connected a 4K display to our MacBook and selected 2560 x 1440 in the system settings, the system seamlessly adapted it to 4K resolution.
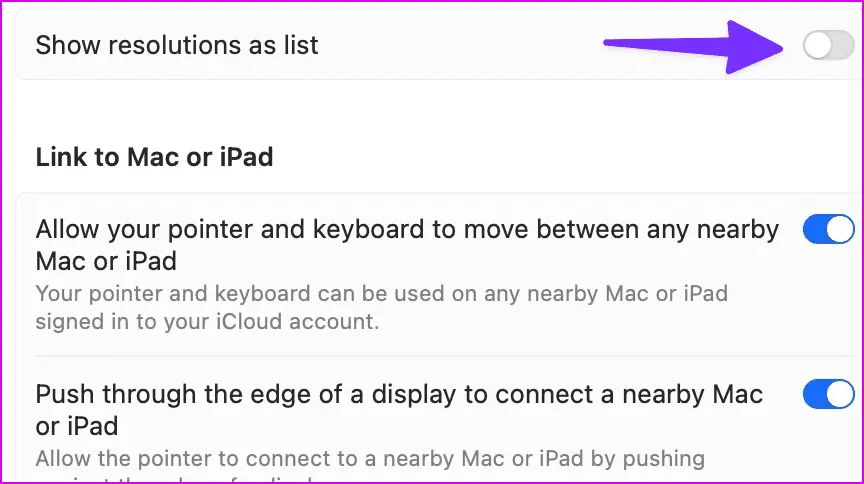
To explore all available resolution options, scroll down and select Advanced within the same settings menu. Enable the ‘Show resolutions as list‘ option to view all choices.
In addition to adjusting display resolution, you can modify the following settings from the Displays menu:
- Color Profile: Select from various color profiles such as Adobe RGB, Display P3, and more. Advanced users can create a custom color profile on their Mac.
- Refresh Rate: If you utilize a high-refresh-rate monitor, adjust the refresh rate settings here.
- High Dynamic Range (HDR)
- Rotation
Method 2: Using BetterDisplay for Enhanced Display Options
The display settings within Mac preferences are relatively basic. To access more advanced display customization options, consider using third-party software like BetterDisplay.
Step 1: After downloading BetterDisplay and granting it the necessary Accessibility permissions, open Accessibility Settings and toggle the switch next to BetterDisplay.
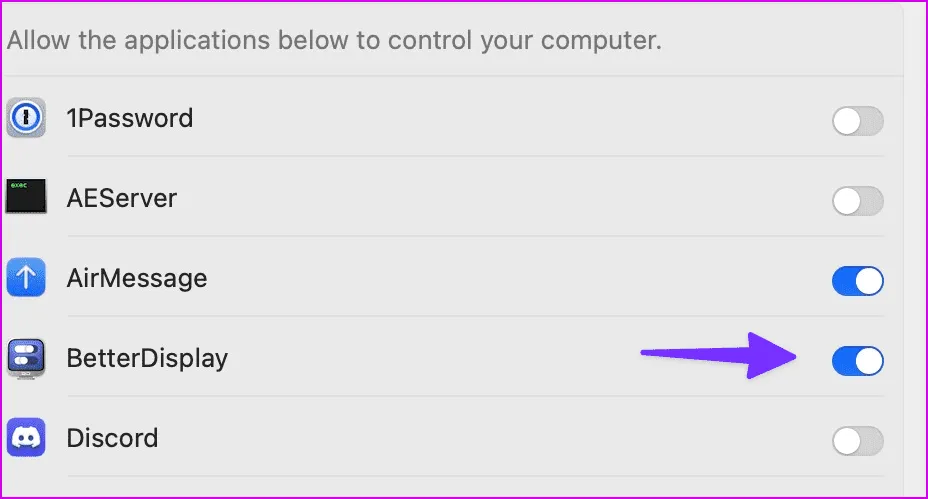
Step 2: You will be prompted to enter your Mac password for authentication.
Step 3: Now, locate the BetterDisplay menu icon in your menu bar. Click it to open a slider that allows you to adjust the resolution of your second display. Additionally, you can modify the refresh rate, rotate the screen, change the color profile, enable HDR mode, and more.
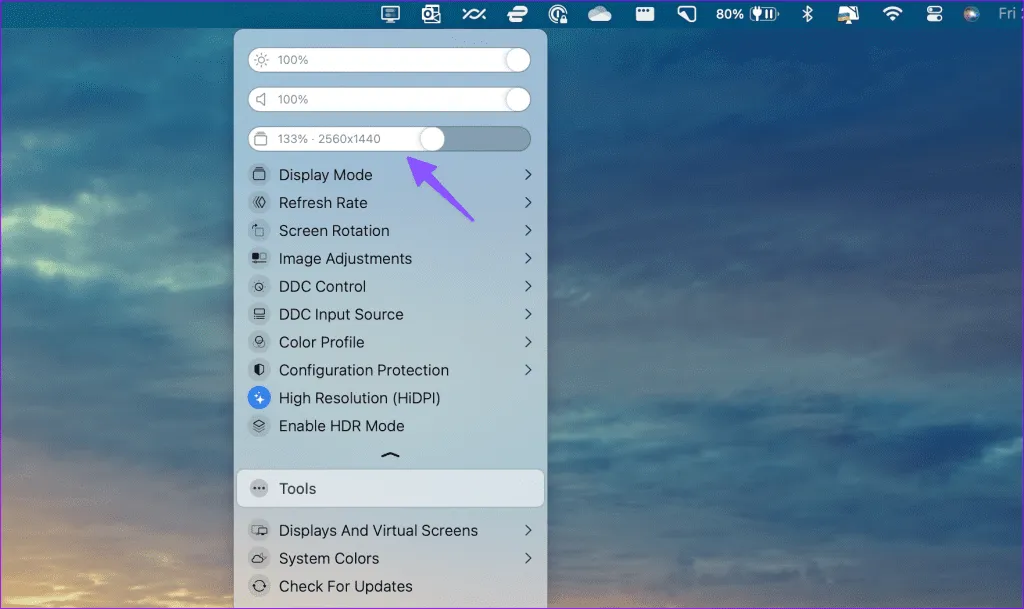
BetterDisplay offers a 2-week trial period, after which you’ll need to purchase the pro version priced at $21.
Method 3: Configuring Displays with DisplayBuddy
Another excellent alternative to BetterDisplay is DisplayBuddy. It enhances the user experience by adding Siri support, keyboard shortcuts, an improved interface, and better compatibility with multiple monitor setups. Furthermore, it allows for synchronization of settings across several displays and the ability to create presets for easy configuration.
After installing DisplayBuddy, click the app icon in the menu bar to adjust your monitor settings.
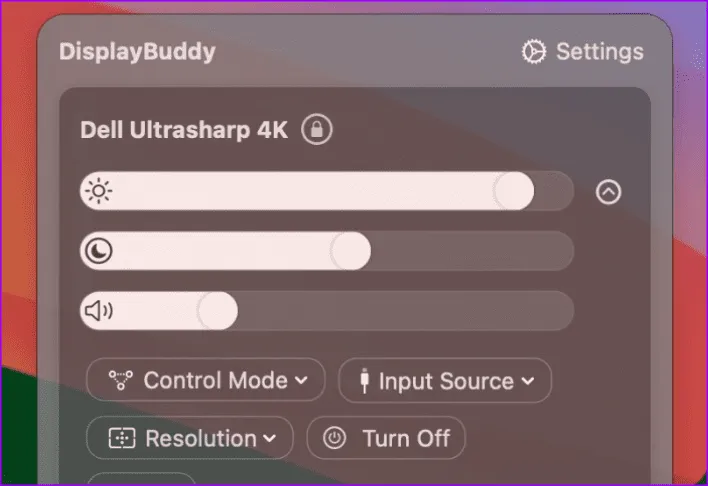
As of the time of this post, DisplayBuddy is available for a one-time fee of $18.
Image Credits: Guidingtech.com