Viewing Multiple Excel Worksheets Side-by-Side: A Step-by-Step Guide
How to Display Two Excel Worksheets Next to Each Other
Displaying Two Worksheets from the Same Excel Workbook Side-by-Side
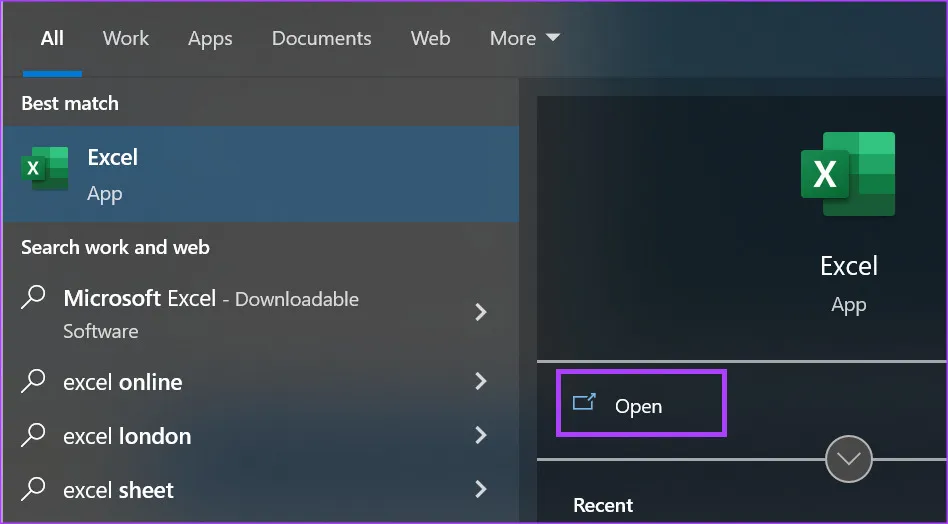
Step 1: Open the Microsoft Excel application on your computer by selecting it from the Start menu or Taskbar.
Step 2: Navigate to the Excel Ribbon and click on the View tab.
Step 3: Within the Window group on the View tab, select New Window. This action duplicates your current workbook.
Step 4: Click on the View tab again and choose View Side by Side from the Window group. This will arrange both workbooks alongside each other.

Step 5: In each workbook window, select the sheet you wish to compare.
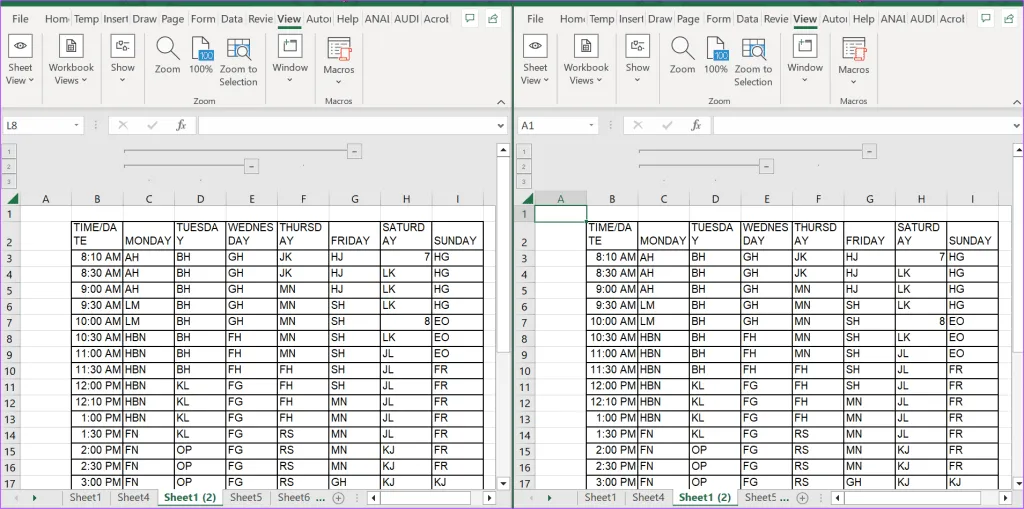
Make sure that the worksheet tabs are visible for optimal side-by-side viewing.
Viewing Two Worksheets from Different Excel Workbooks Side-by-Side
Step 1: Launch the workbooks containing the sheets you want to view together.
Step 2: Click on the View tab in the Excel Ribbon.

Step 3: In the Window group, select the View Side by Side feature.

Step 4: If you have multiple workbooks open, a dialog box labeled Compare Side by Side will pop up. Choose the workbook you wish to compare and click OK, arranging both workbooks side-by-side.
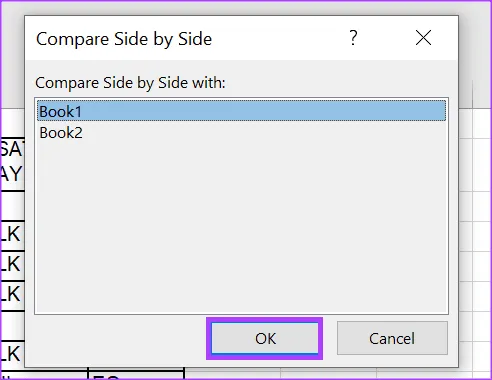
Step 5: Finally, select the sheet to compare in each workbook window.
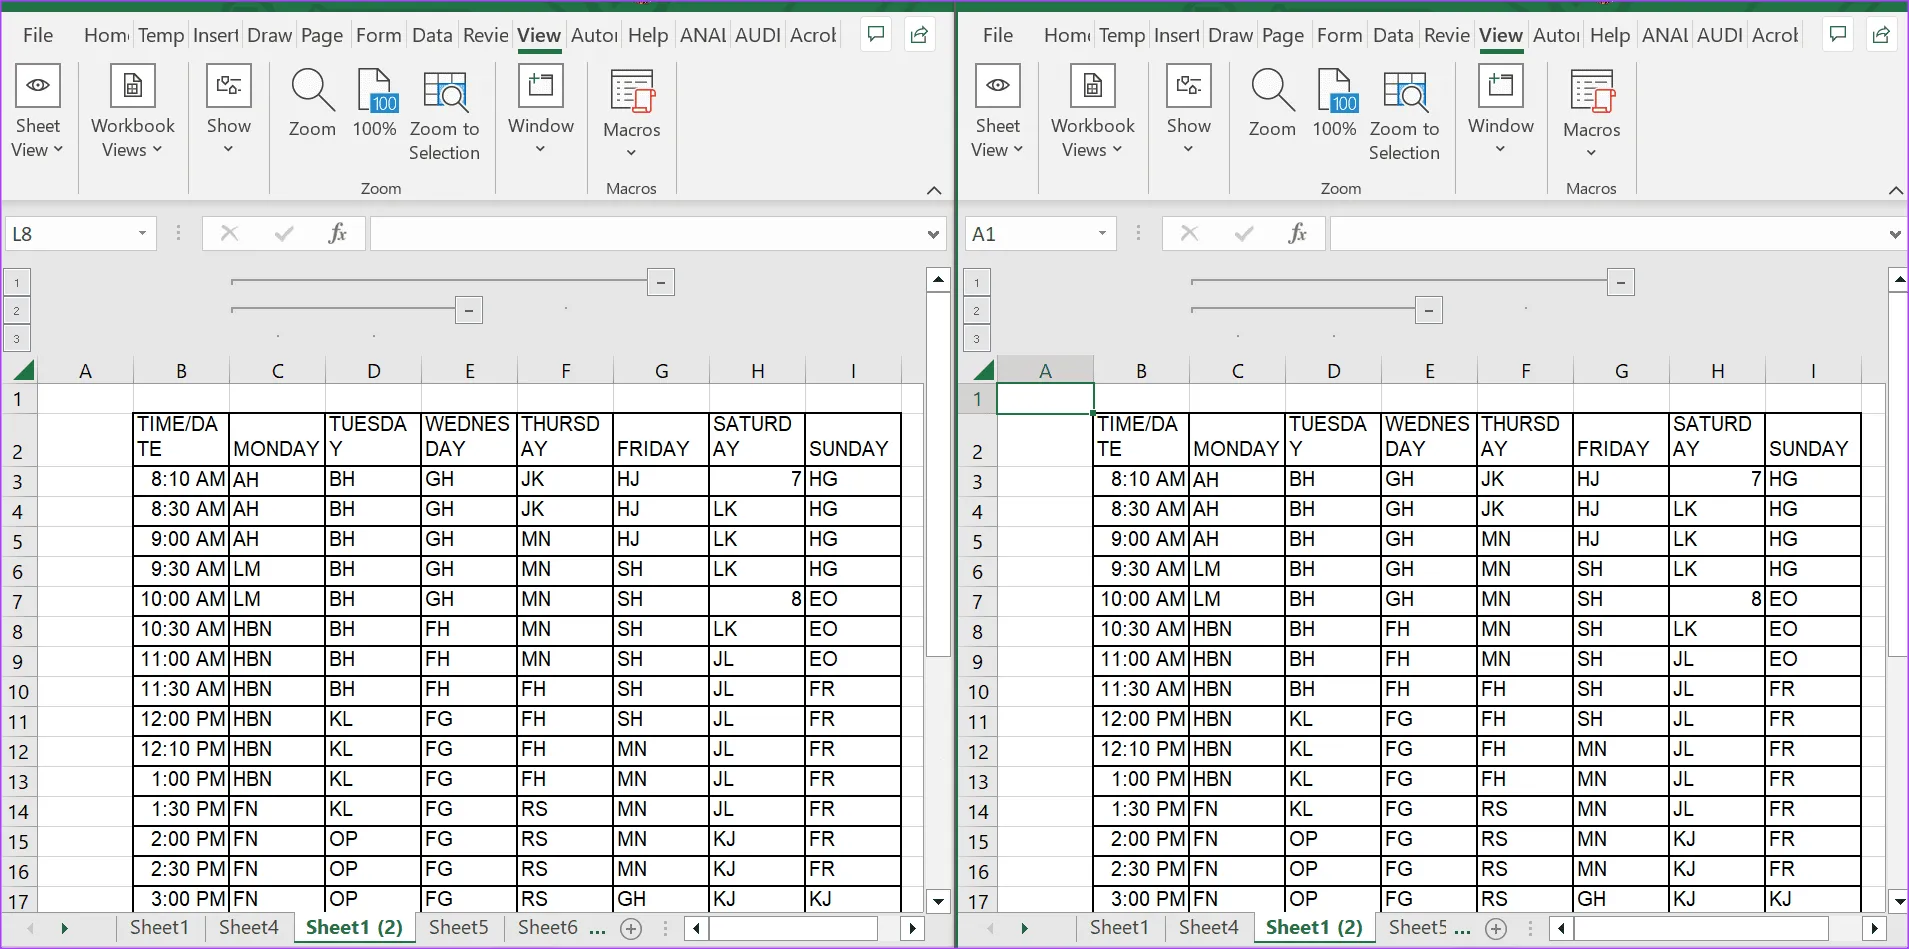
Modifying the View of Side-by-Side Excel Workbooks
When you opt for the View Side by Side feature in Excel, it will typically arrange the worksheets in a Tiled view by default. You can adjust how your worksheets are displayed by following these steps:
Step 1: Click on the View tab in the Excel Ribbon.
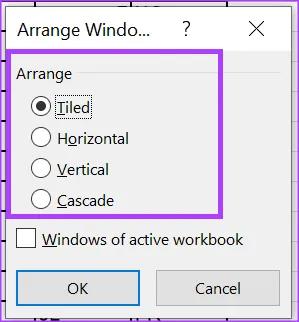
Step 2: Under the Window group, select Arrange All. This will open the Arrange Windows dialog box.

Step 3: Choose your preferred layout from the available options:
- Tiled: Arranges the windows as equally sized squares in the order they were opened.
- Horizontal: Stacks the windows vertically.
- Vertical: Places the windows side-by-side.
- Cascade: Overlaps the windows on top of each other.
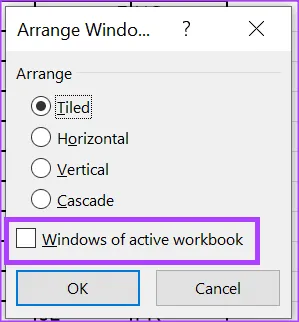
Step 4: If you intend to work with multiple worksheets in a single workbook, check the box for Windows of active workbook.
Step 5: Click OK to apply the modifications.
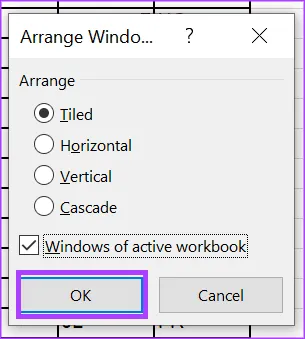
Image Credits: Guidingtech.com